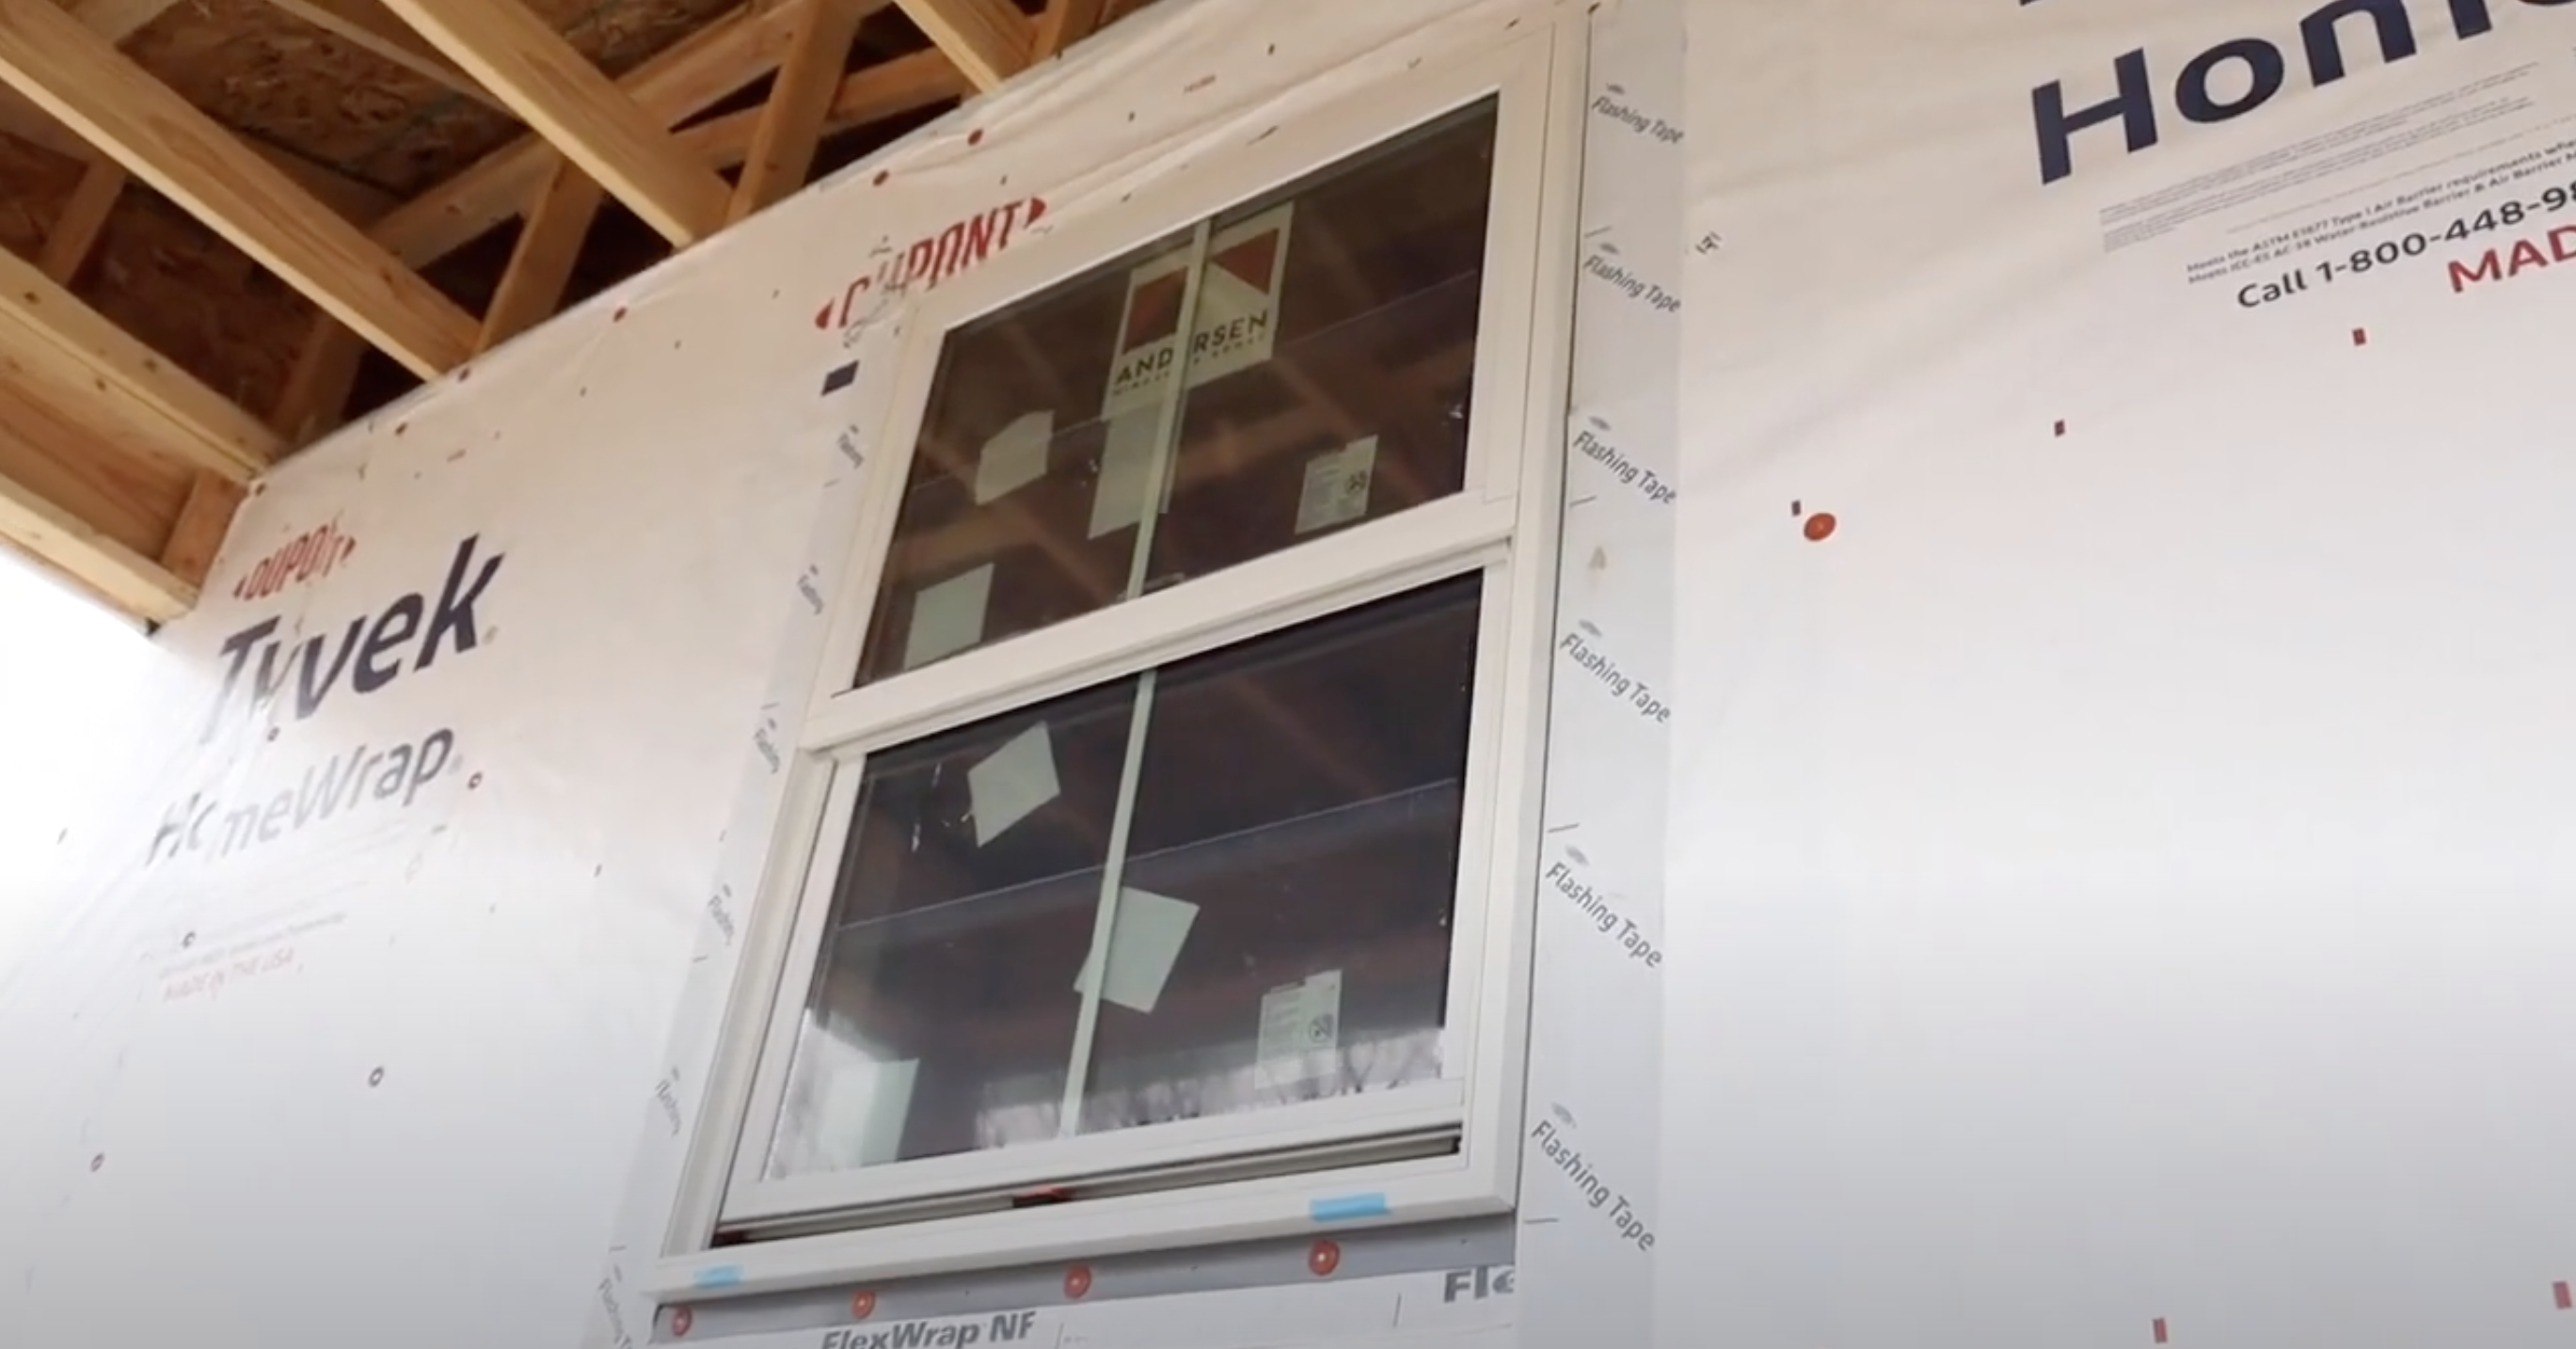
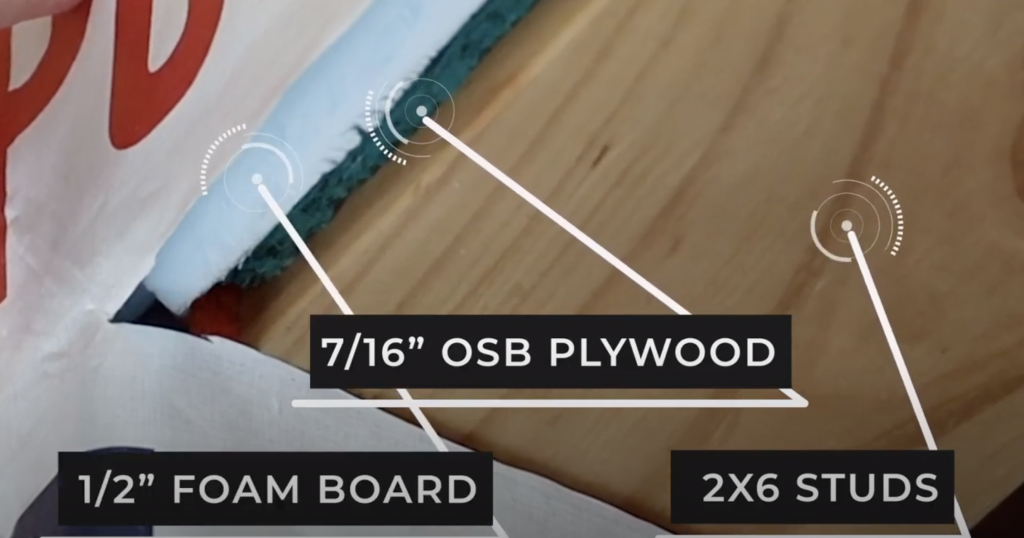
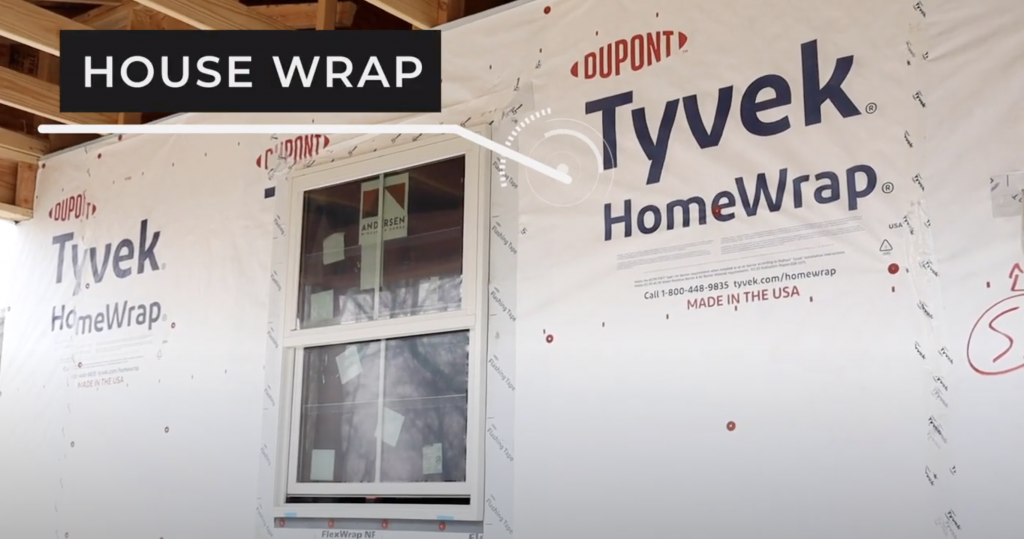
This particular house is framed with 2×6 outside walls, now remember that gives us 33% more insulation in the wall cavities. On the outside we have a layer of 7/16″ OSB plywood, that is for good structural strength, on top of the OSB we have half-inch rigid styrofoam that gives us a good thermal break from the outside elements. On the outside of the rigid styrofoam, we put a weatherization product which right now it’s Tyvek house wrap.
These are the steps we’re going to be taking. In the first process, of course, we’re going to double-check and make sure that the window is square. The time to do that is during the framing stage, make sure during quality assurance to check for plumbness and squareness of the windows doors.
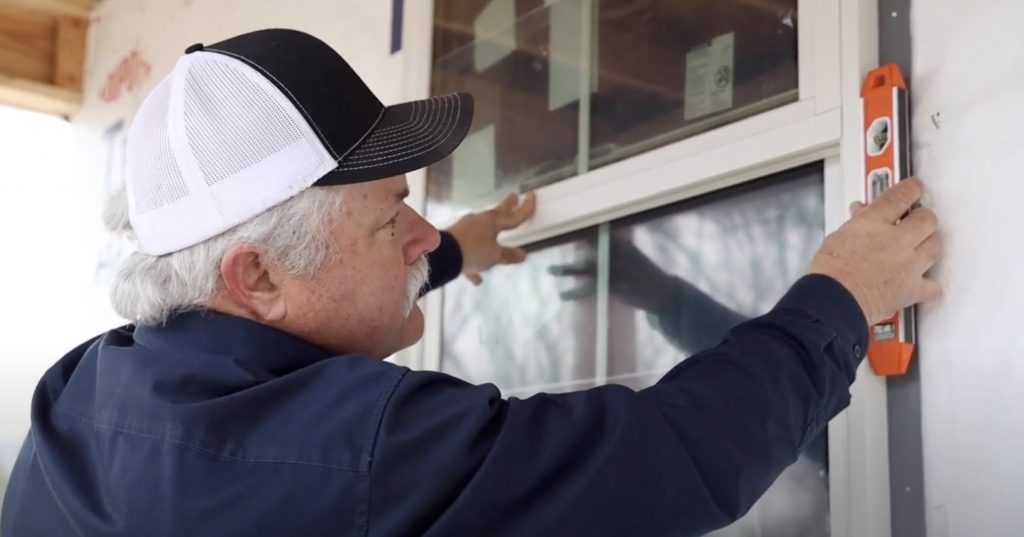
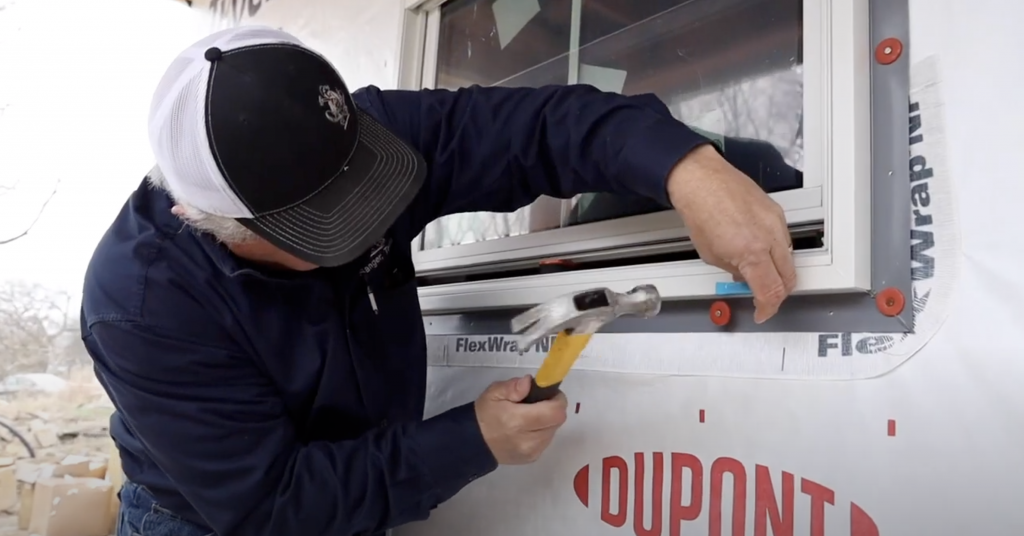
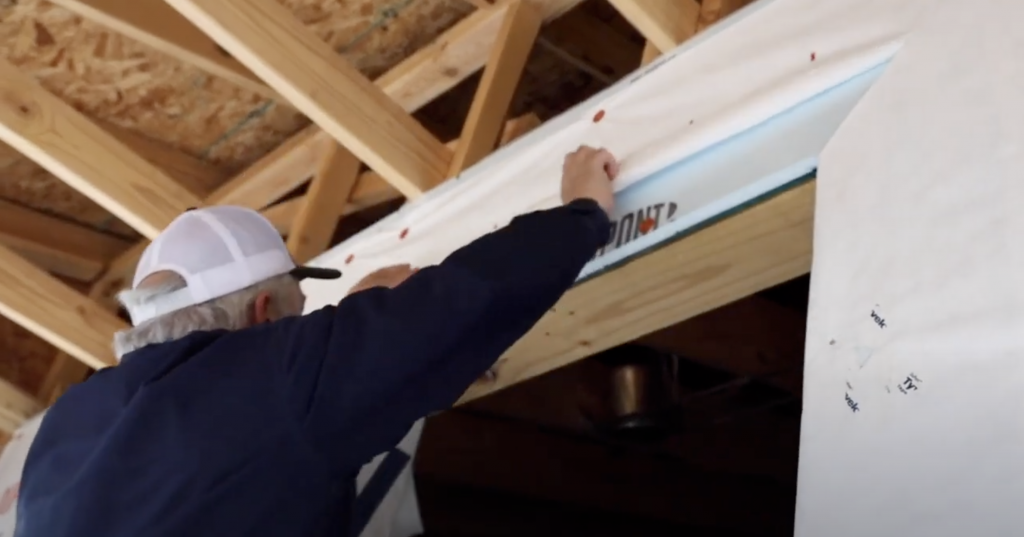
The next thing we’re going to do is we’re going to cut the house wrap back in an ‘I’ form, we’ll cut the top of the house wrap up at a 45-degree angle and get it out of the way we’ll take the sides and we’ll wrap them around to the inside. After that, we’ll put a flexible seal pan down, run it up about six inches on both sides of the window then we’ll fold it down.
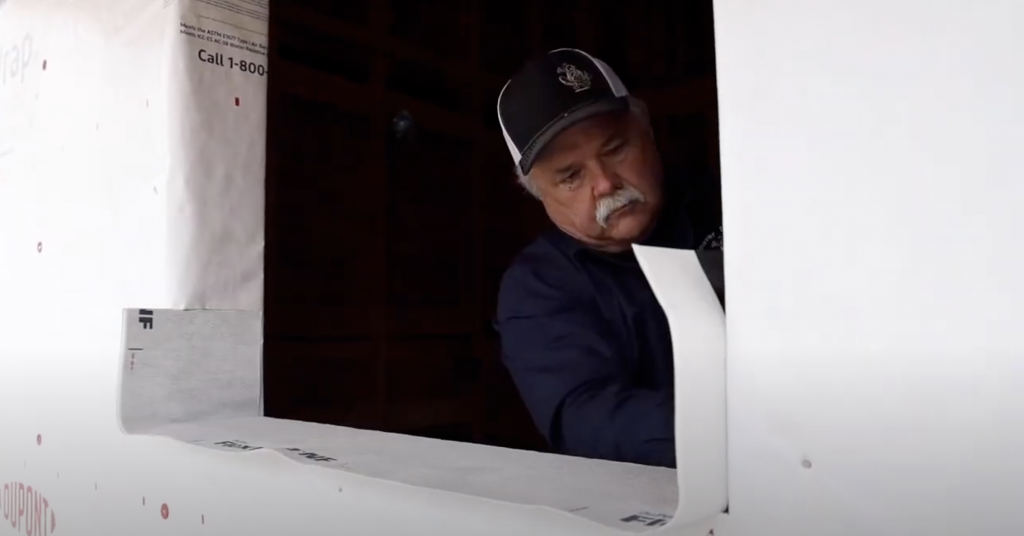
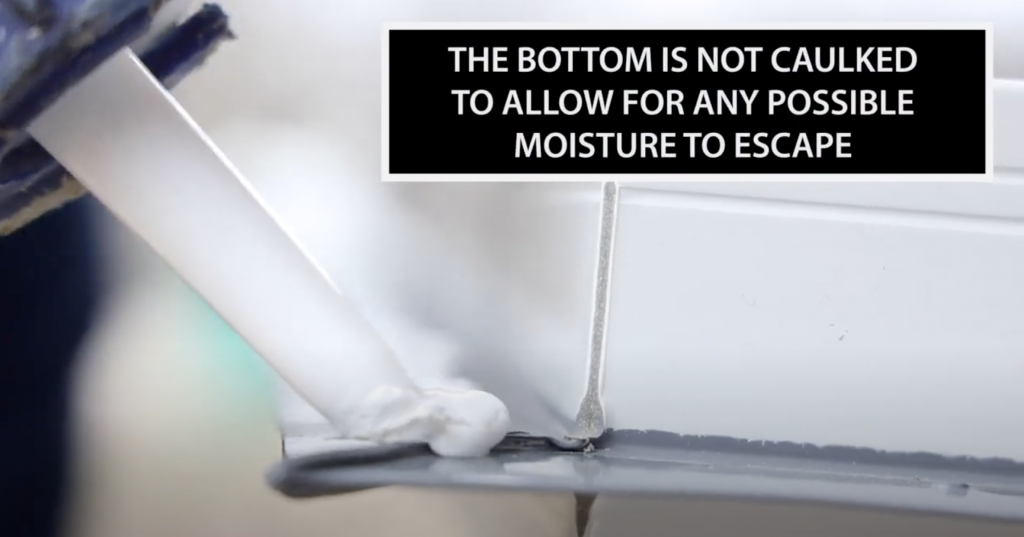
Then we’ll caulk in around the window on the sides and top but not the bottom, and set the window in place using shims on the bottom.
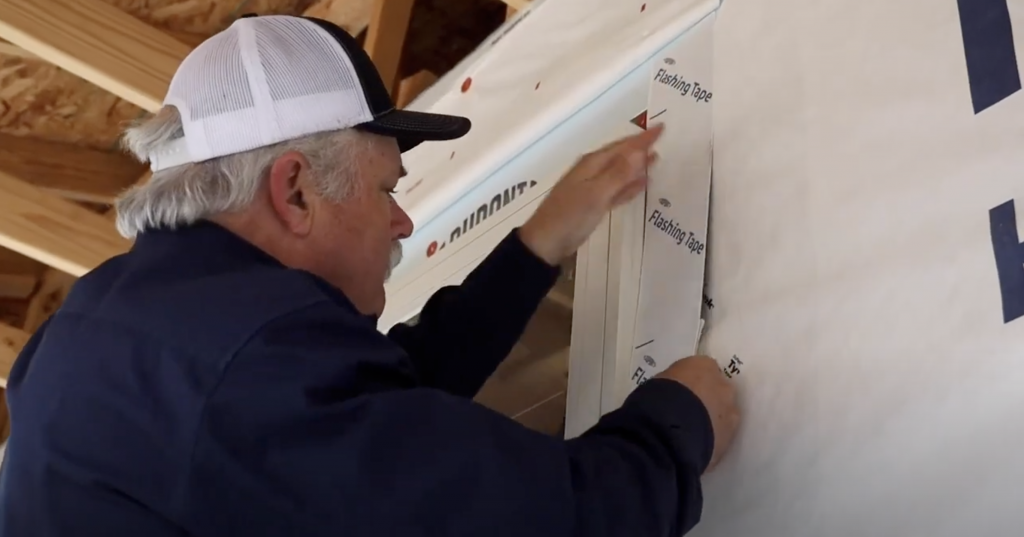
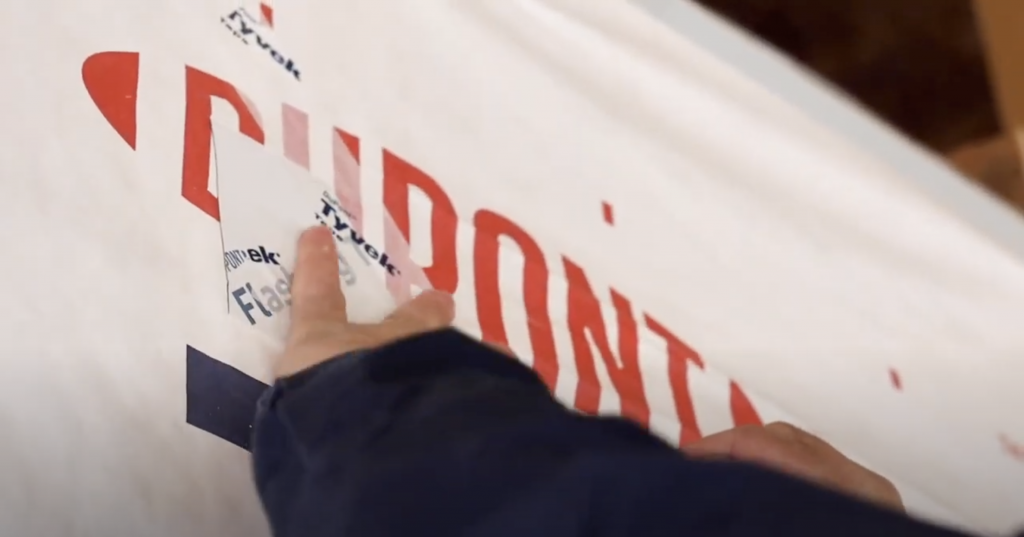
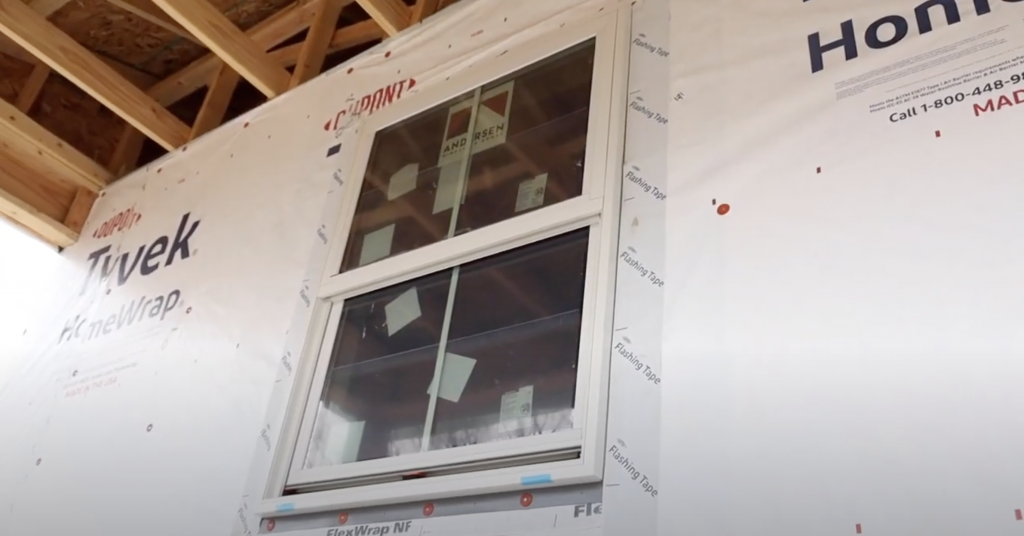
We’ll come back and tape the outside of the window to the weatherization wrap. Once this is done, we will tape the top of the window, pull the weatherization wrap down to the window, and tape off the seams, and that will give us a complete window installation.
